This post will teach you how to make clouds in Photoshop…
I think everyone loves to look at clouds. Even the big scary rain clouds that darken the whole sky are fun to look at. Clouds can also give great depth to your images and make them look that little bit more interesting. Instead of waiting for the perfect cloud formation for your images, why not make your own.
How to make Clouds in Photoshop
Photoshop has all of the tools and features required to make clouds. We will even be using images of real clouds to make them look super authentic. As always I have a video to show the process in real time but the following list breaks down the entire process.
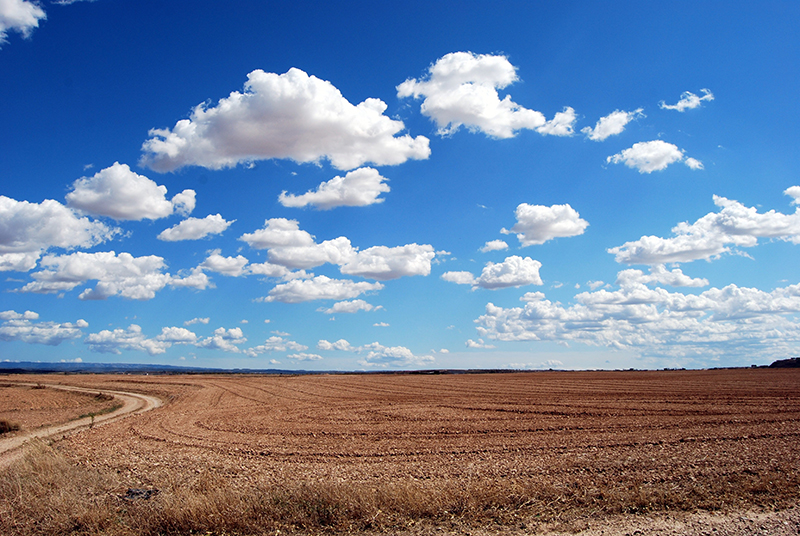
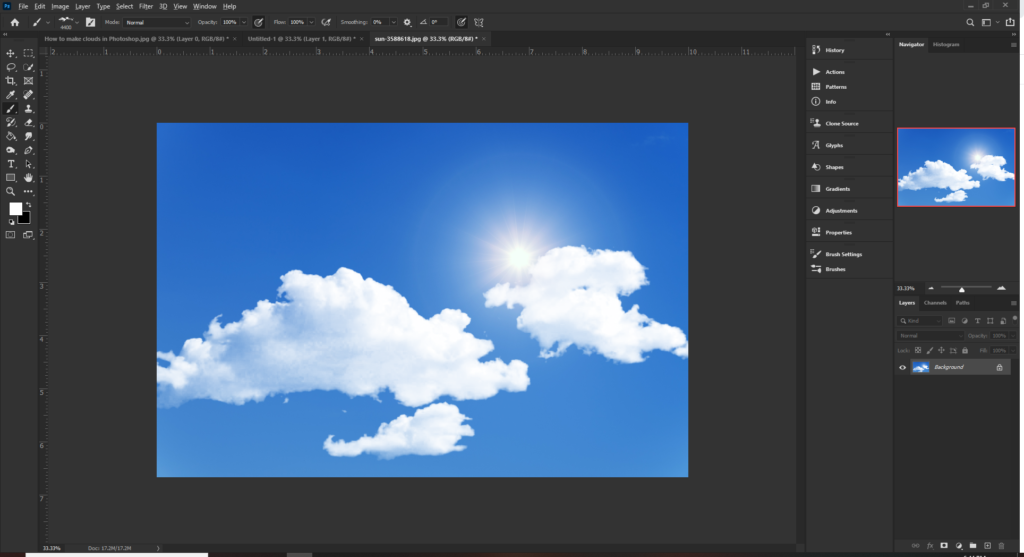
Step 1. Get a picture of a real cloud
Yes, we are going to make a cloud in Photoshop using a real cloud. You can take your own photograph or get one from stock image sites
Step 2. Cut out the cloud from it’s background
Isolating the cloud image from it’s background can be tricky. Clouds very rarely have hard edges so you will need to cut it out in a way which maintains the fluffiness. Luckily clouds are usually shades of white and the sky is shades of blue. We can use the tools within Photoshop to cut the cloud out effectively. Tools such as color range selection and black and white adjustment layers work very well
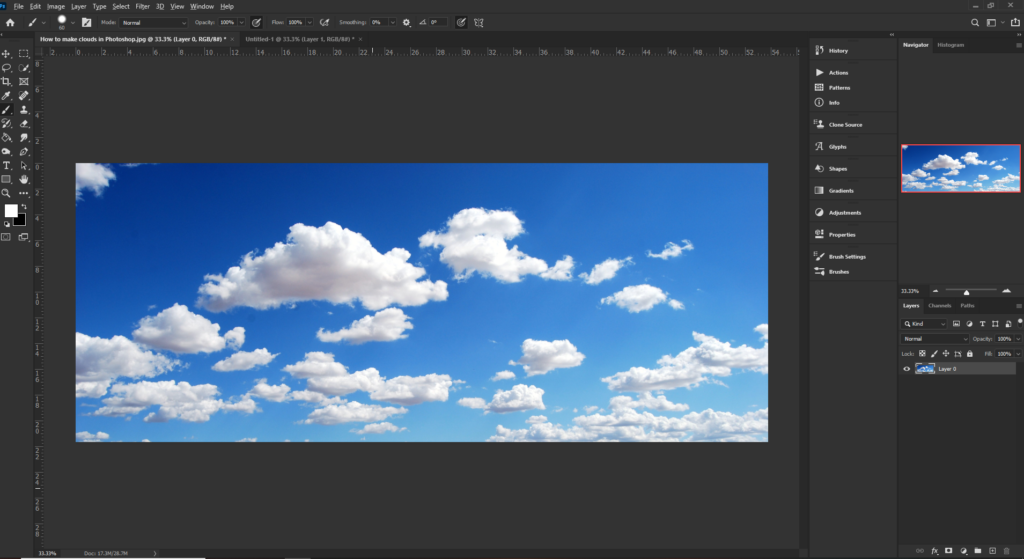
The image has been cropped so that we are just working with the clouds and the sky in the background
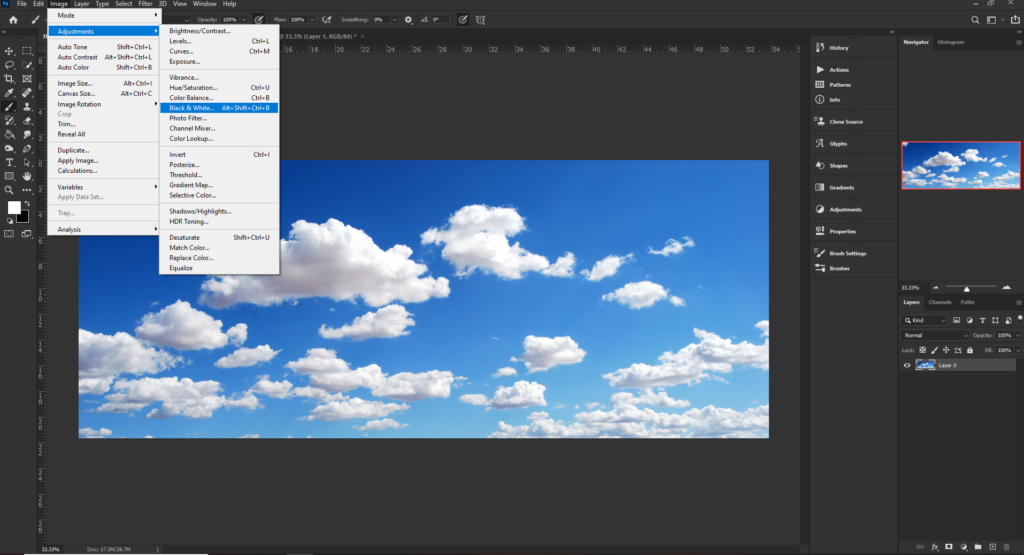
We now want to remove the blue sky in the background. There are a few ways to do this but my preferred way is to use a black and white adjustment layer. Select Image > Adjustments > Black & White
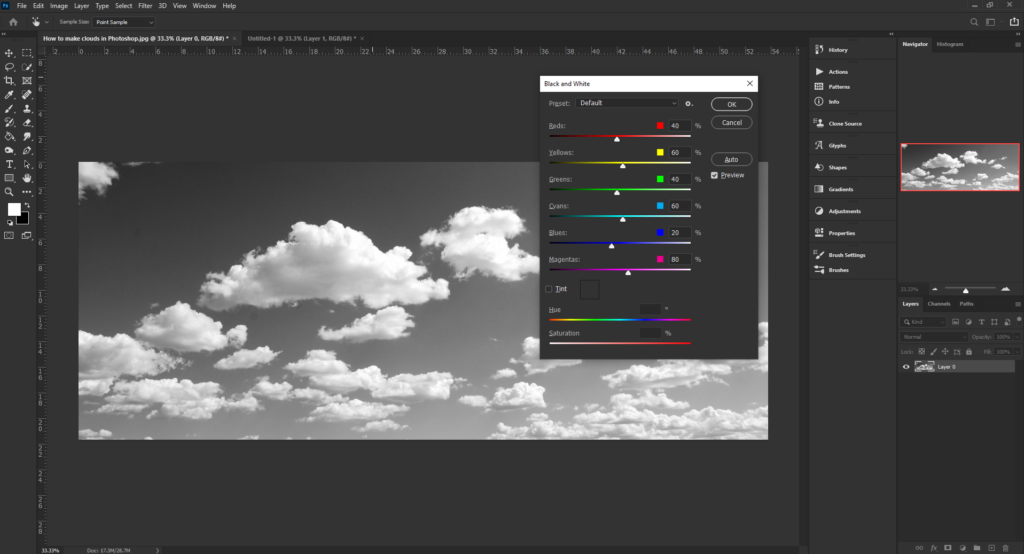

Using the sliders we want to remove all of the blue from the image (the sky). Slide Blues all the way down to 0. You may need to play with the Cyans as well but do so with care. Reducing too much of the cyan will lose the fluffy edge of the clouds. We are shooting for fluffy to make it look realistic
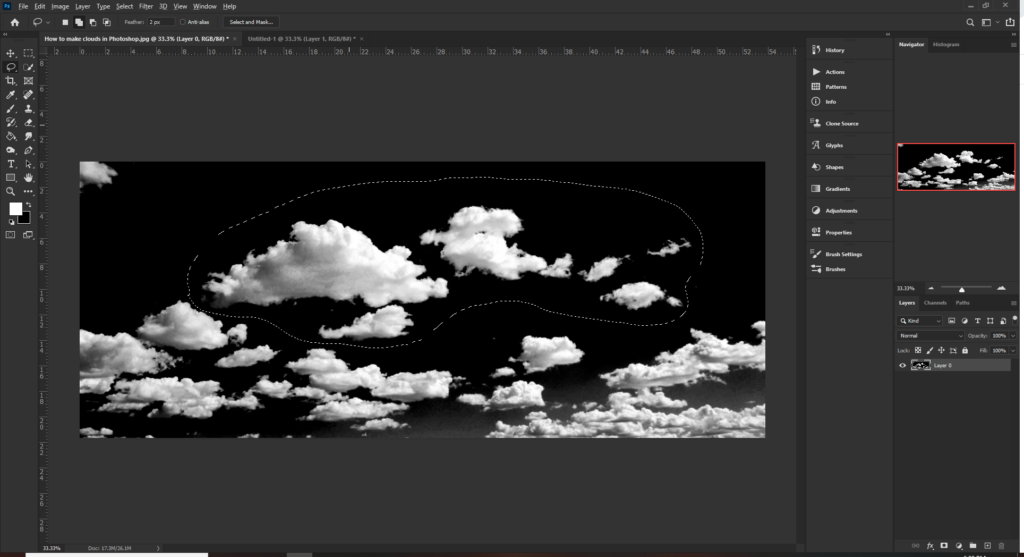
Now that the blue has been removed we want to cut out the clouds which will be used for our brush. Using the lasso tool (or pen tool) draw around the clouds which you would like to use. We can now create a new document and paste the cut out clouds on to a white background
Step 3. Inverting the colors to make the cloud brush
To make a brush in Photoshop you will need a black mark on a white background. As a cloud is usually white, we can simply invert the colors and we are good to go
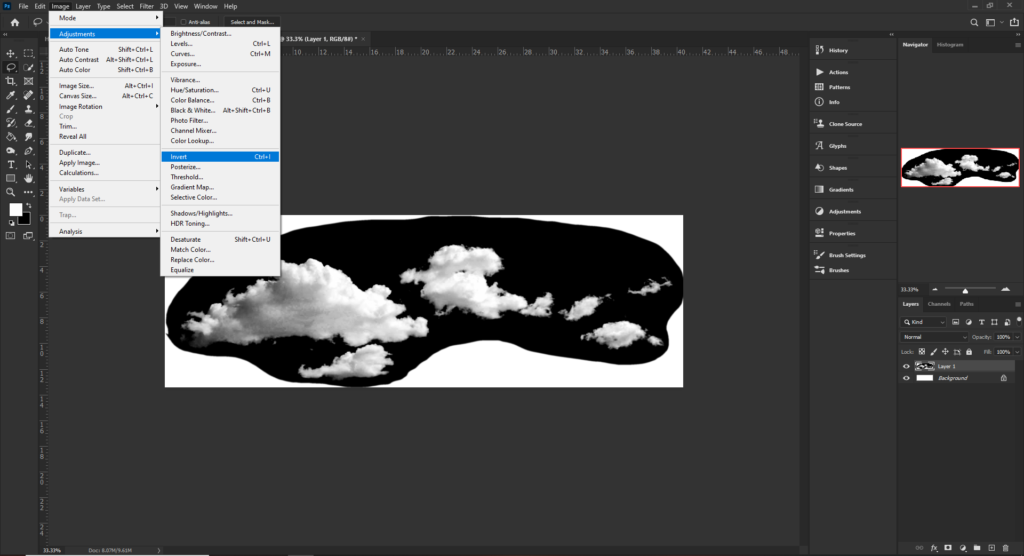
Using the invert tool. Image > Adjustments > Invert we can turn the clouds black and the background will be completely white now.
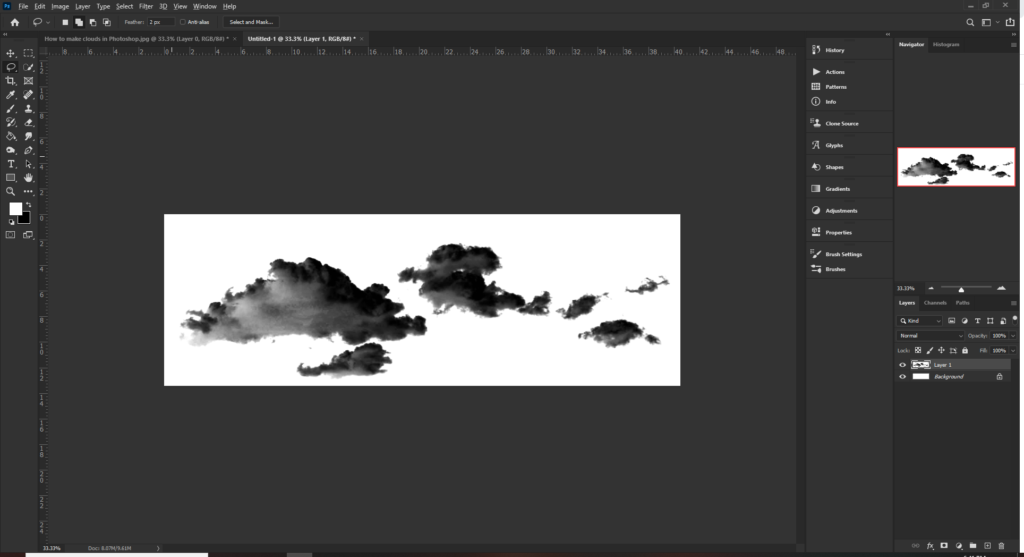
Because we have black marks on a white background, We can now use this to make our cloud brush.
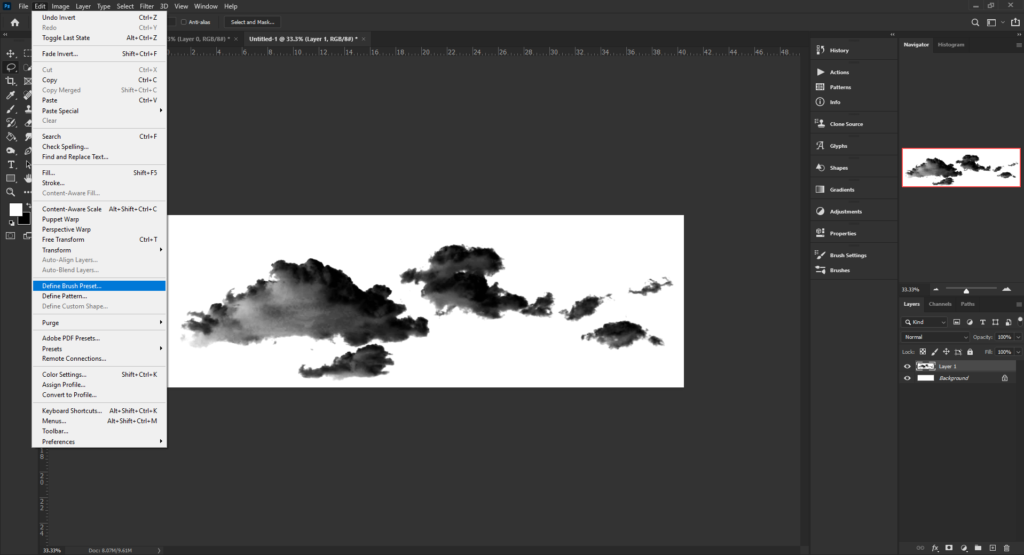
Select Edit > Define Brush Preset
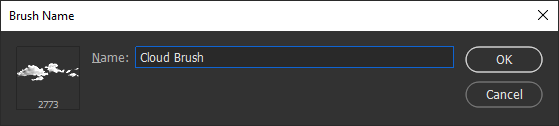
Give your brush a name
Now you are ready to go and create realistic clouds which can be added to your images.
Once you have mastered this technique, the only limit is the references photographs which can be used to create brushes. If you have a camera on your phone then get used to snapping anything and everything around you. Trees, flowers, leaves, More clouds, insects, food, and cars can all be used to create Photoshop brushes.
In a previous tutorial we looked at how to create lightning in Photoshop. If you enjoyed learning how to make clouds in Photoshop then you may find that one useful too.
I hope you enjoyed this post now go create something!