In this post you will learn how to make gold in Photoshop. Give yourself the Midas touch and transform any object in to gold. I first saw this technique on YouTube and anted to give it a try myself. As always there is a video to see the process in real time as well as a more detailed description below
This first thing you will need is a object to turn in to gold. You can choose any object and this effect will work. For this post I thought about what object would I like to see in gold. I am a big fan of Art History so my mind went straight to sculptures. I then started thinking about how cool it would be to see a solid gold version of Michelangelo’s Pietà. My mind was made up.
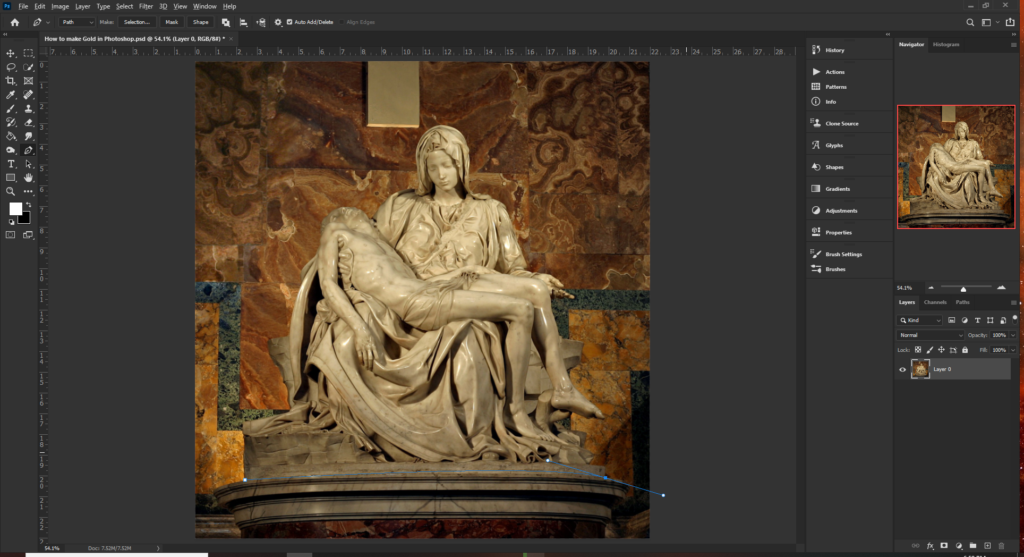
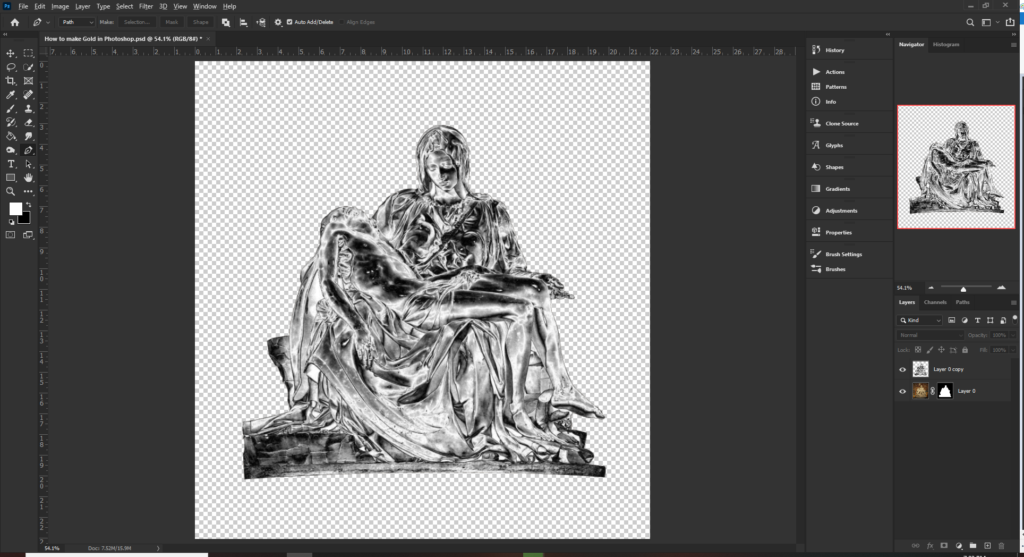
The next step is to isolate the part of the image which you want to turn in to gold. In the video you will see that I used the pen tool for this isolation. I have a love hate relationship with the pen tool in Photoshop. I love the smooth isolation it creates but it just takes a long time and I am not a patient person. That being said, Once you do get the hang of the pen tool it is a great asset.

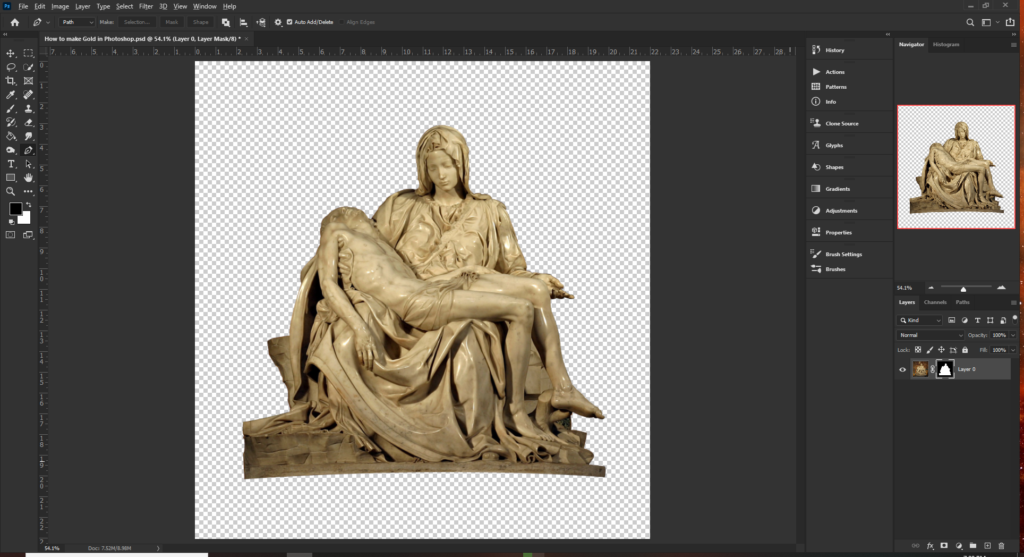
With the selection made we can apply a layer mask to cut the object from the background. To apply the layer mask press the layer mask button, Click the New Layer Mask button in the Layers panel.
Now we learn how to make Gold in Photoshop
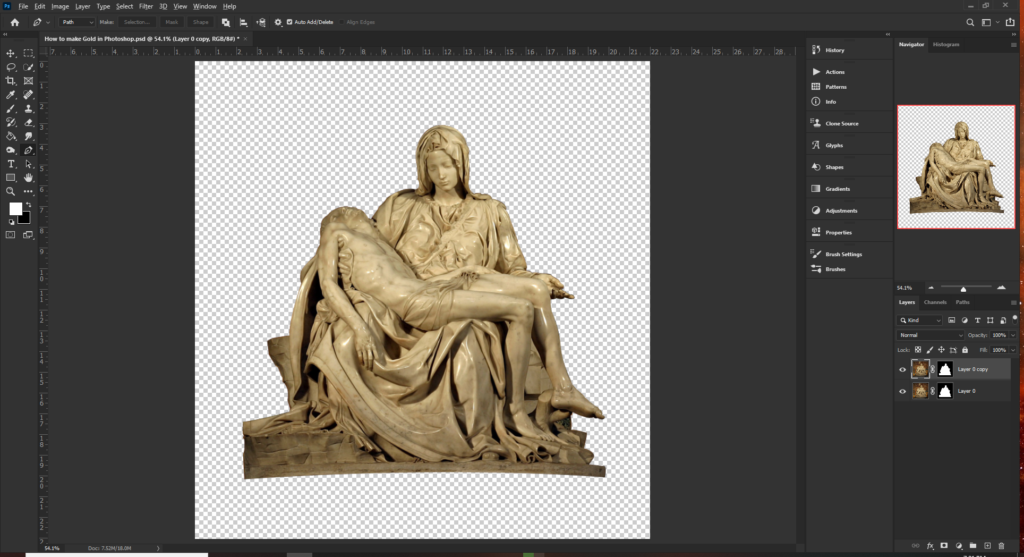
The first step in turning our sculpture in to gold is to duplicate the layer. You can do this in a few different ways. Right click the layer and select Duplicate Layer or hit Ctrl+J on your keyboard
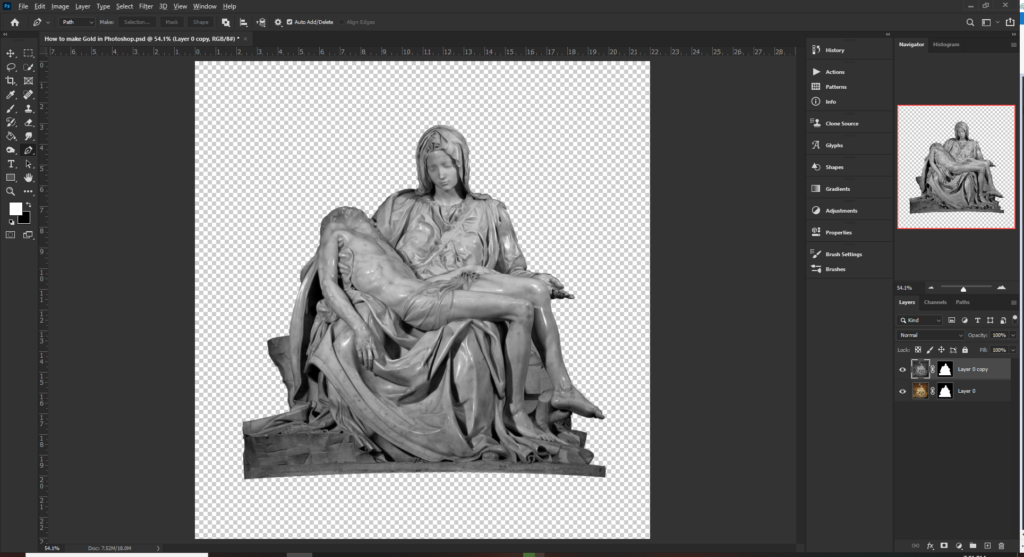
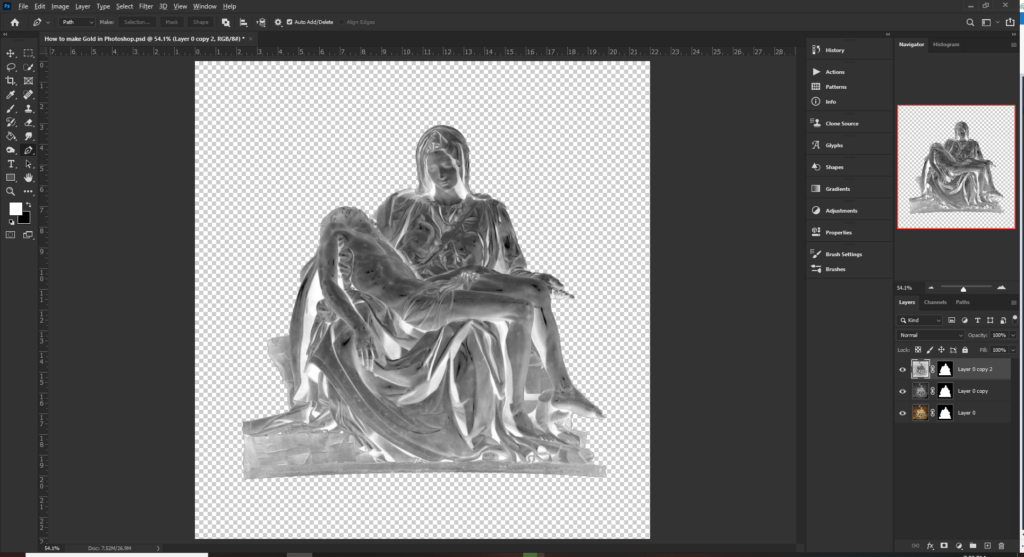
Now we want to Desaturate the layer which basically means remove the color so it appears black and white. Select Image > Adjustments > Desaturate. Alternatively you can press Ctrl+Shift+U on your keyboard
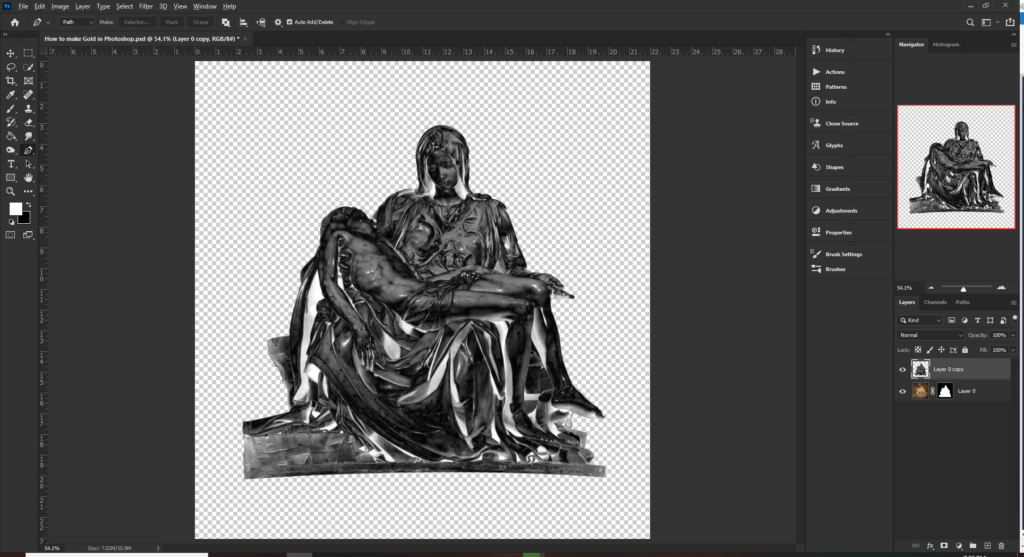
Duplicate the Desaturated layer and we now want to invert the colors. This will make the blacks turn white and the whites turn black. You can do this by selecting Image > Adjustments > Invert or pressing Ctrl+I on your keyboard
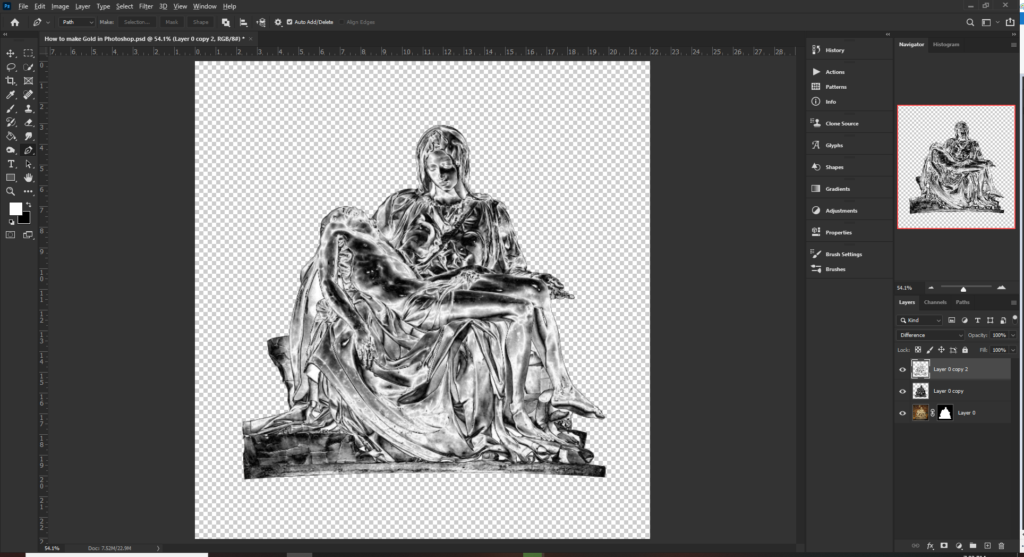
Now set the blend mode of the inverted layer to Difference. The difference layer can be a little unpredictable if you are not up to speed on your color theory. Essentially perfect white on top of a color will invert that color to it’s opposite where as black will do nothing.

With the difference blend mode activated we now need to merge the layer down. Either right click the difference ode layer and select Merge down or press Ctrl+E on your keyboard. This part is important or the effect will go slightly wrong when we begin to add the Gold color
Now we repeat part of the this process. Duplicate the layer and then Invert the layer
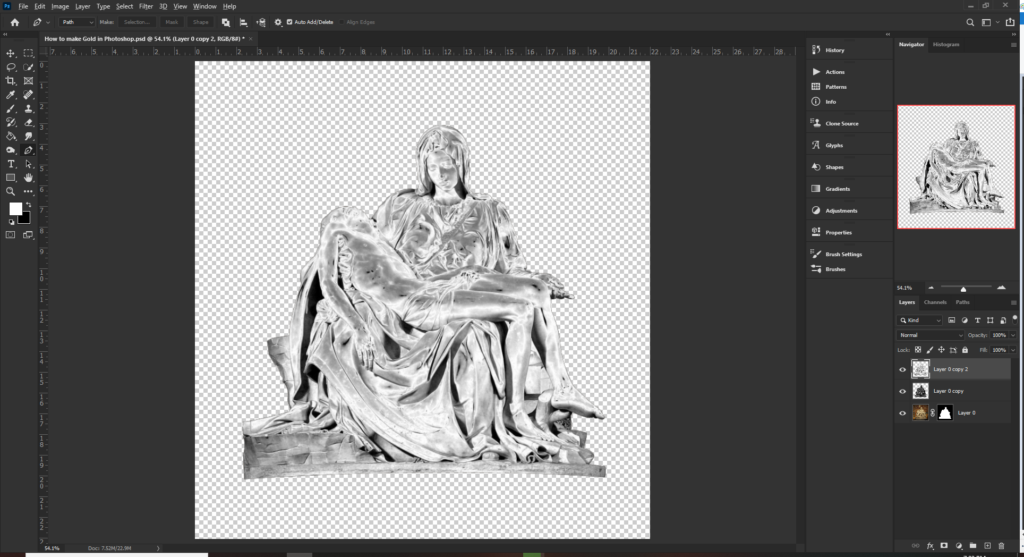
Set the layer blend mode to Difference
Merge the layer down again. This is the point in the process where you start to see the transformation taking place. I can imagine you thinking that this would be great for making silver or chrome. You are right but we want to make Gold in Photoshop today. So let’s start adding some color. If you have made it this far then the next part is very simple
Let’s turn this metal to gold
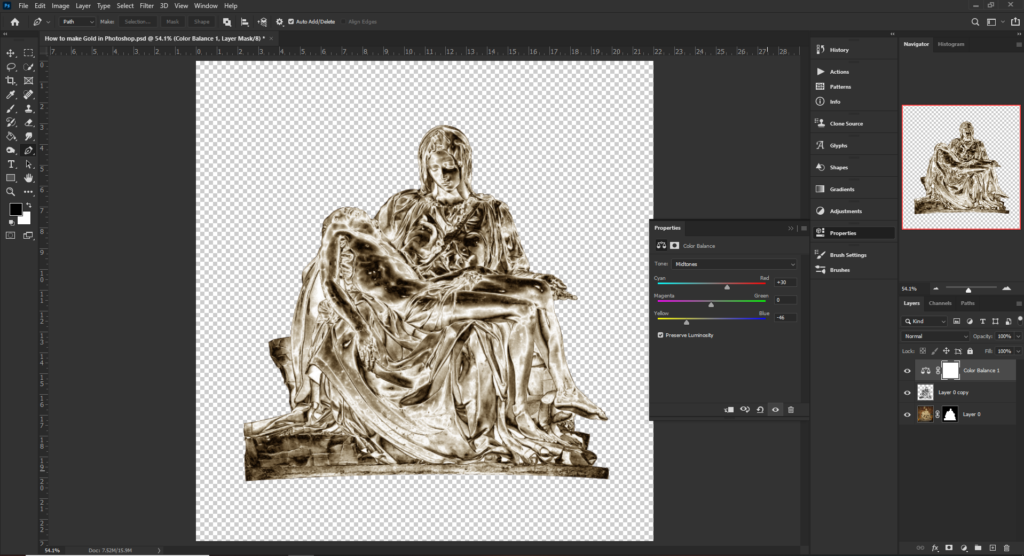
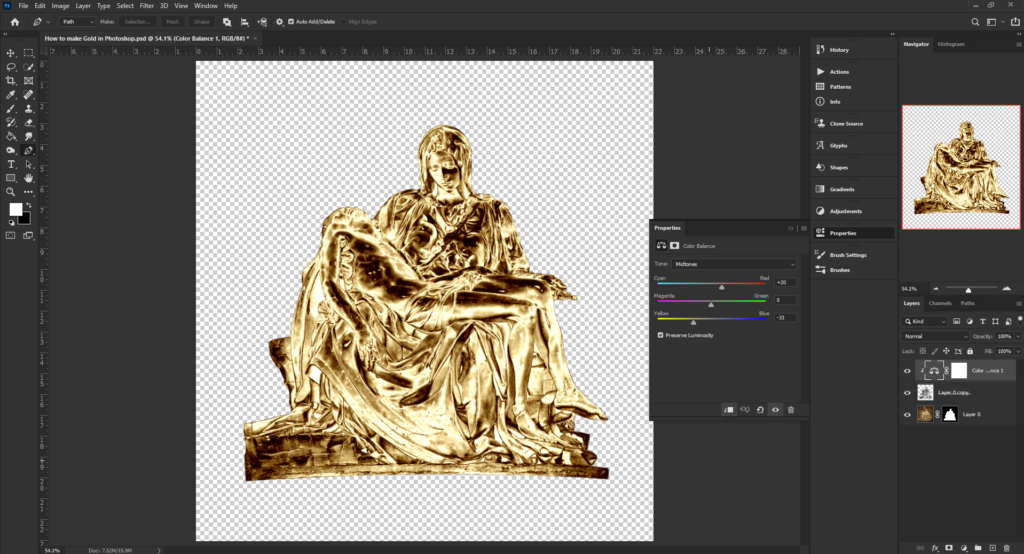
To make our object turn Gold we will be applying a few adjustment layers. The first one will be a color balance adjustment layer. From the Create new fill or adjustment layer button, select Color Balance. From here we will be increasing the levels of Yellow and red. I found that setting the yellow levels to around 35 and red levels to around 20 worked beat for this image
Make sure that you drop down the Tone menu and do the same thing for Shadows, Midtones and Highlights
Important Tip: Make sure that clipping masks are applied to each adjustment layer. You can do this by pressing the clipping mask button in the adjustment layer window or right clicking the layer and selecting Create clipping mask. This will make sure you are applying adjustments only to the layer below and not the whole image.
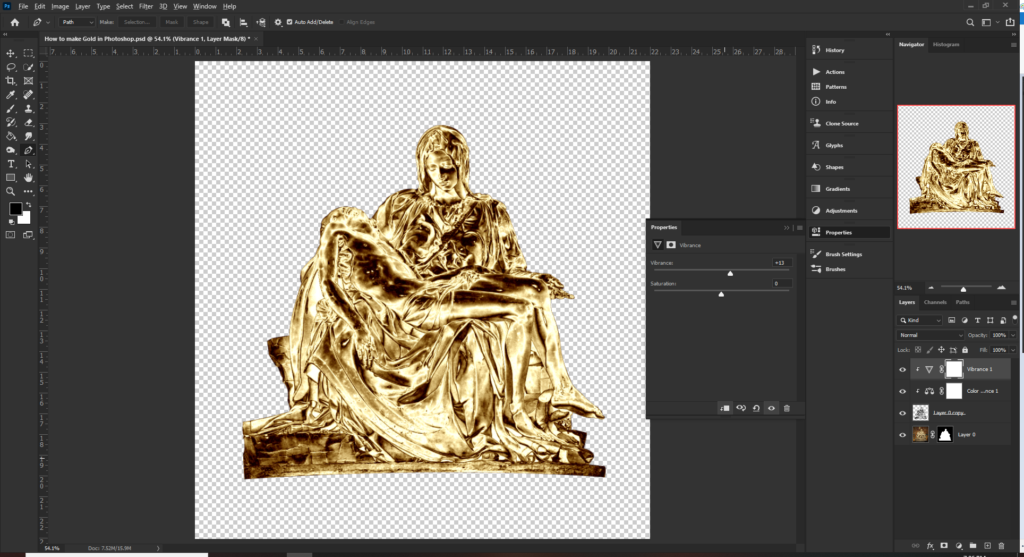
Next we can add a Vibrance adjustment layer. Very subtle adjustments needed here but just enough to make it look more realistic. I found that taking down the saturation a little made a big difference
Time for a few finishing touches
Now add a Levels adjustment layer. Again very subtle changes
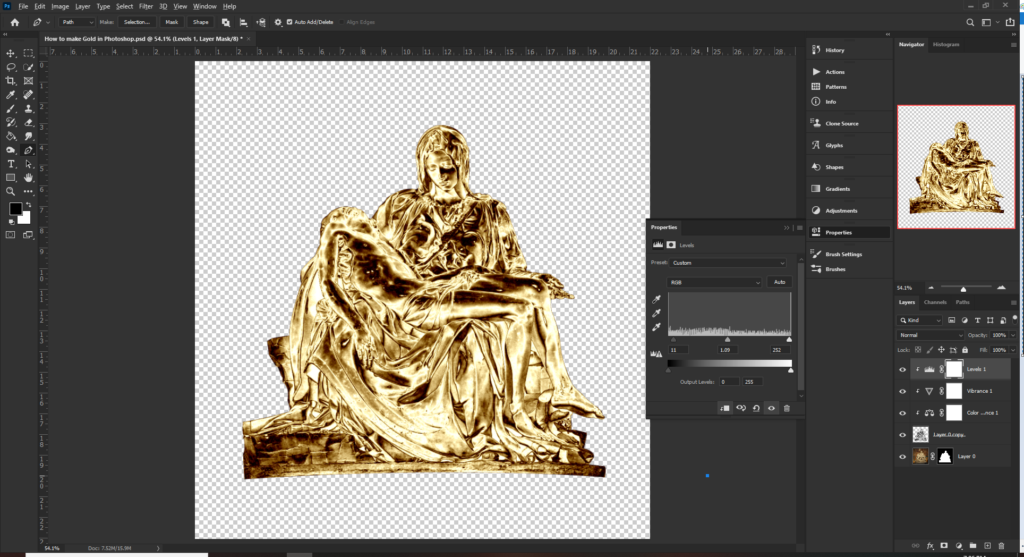
Next we can remove the layer mask from the original layer and put Pietà back where it belongs in St. Peter’s Basilica, Vatican City. We can do this by right clicking the layer mask and selecting Disable Layer Mask. Alternatively, you can hold Shift and click on the mask
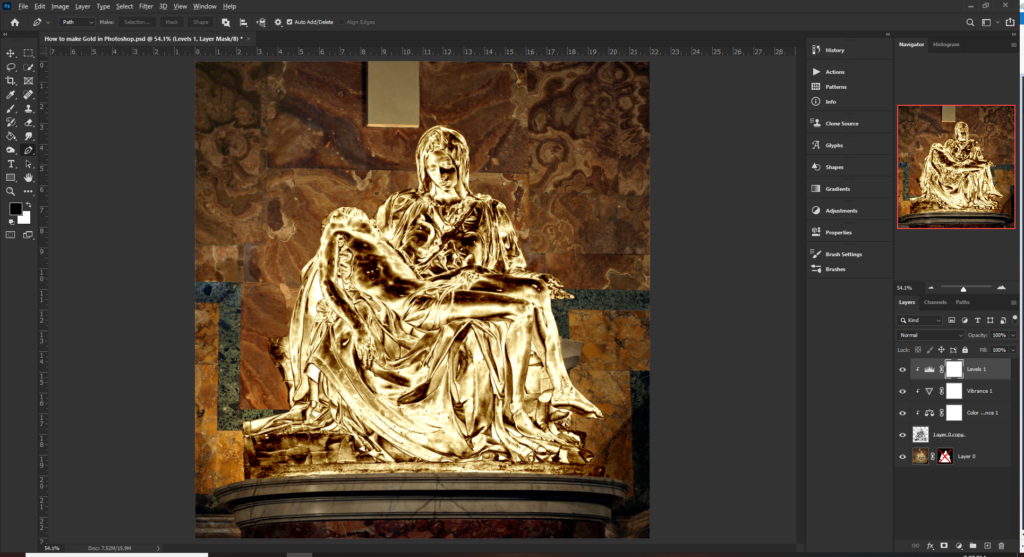
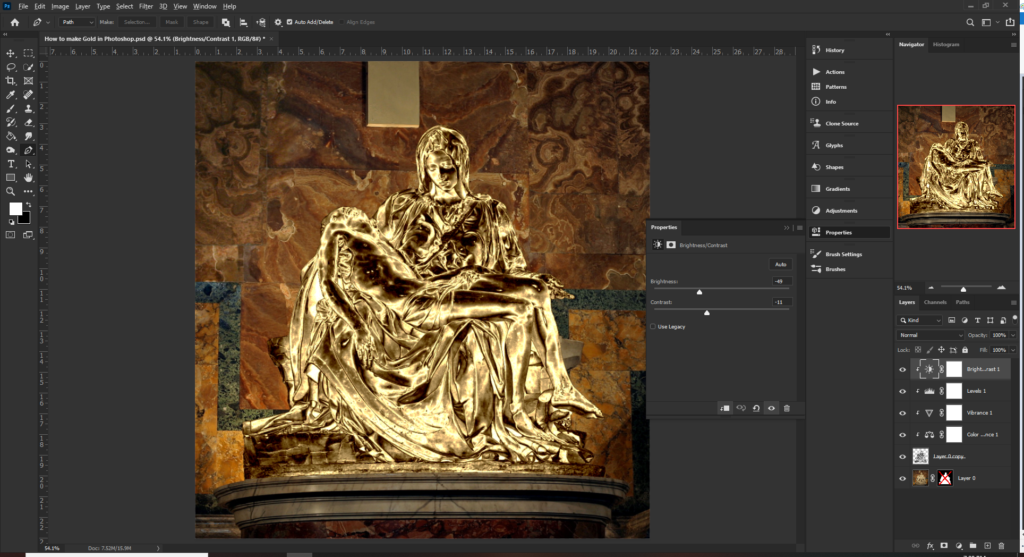
The first thing we notice is that the the new golden Pietà is a little too bright for the setting. Add a Brightness adjustment layer and bring down the brightness and contrast. Remember to make sure that clipping mask is applied to only adjust the sculpture
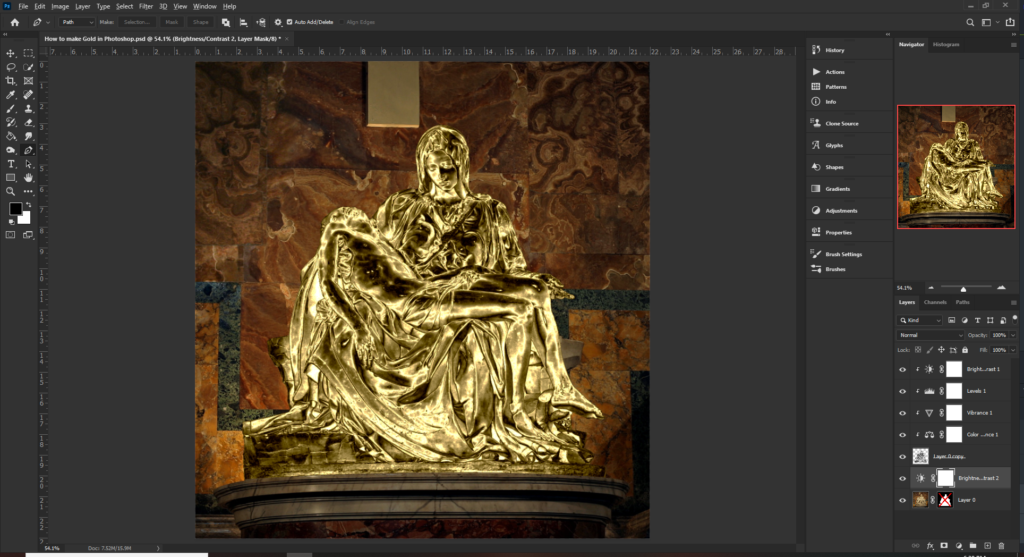
Final touch to this is to take the brightness down of the background so that it looks like the light matches. Again, Add a Brightness adjustment layer and bring down the brightness and contrast. This time the adjustment is only adjusting the background
And we are done!
So there you go, we now know how to make gold in Photoshop. I hope you found this tutorial useful and can use it to create your own golden objects.
Now Go Create Something!