
Ever wanted to become a graffiti artist or the next Banksy but did not want to get arrested? If so then this tutorial is for you. We will combining two images in Photoshop and using the blend if function to create a graffiti wall art effect.
Check out the accompanying video to help with some of the stages if you would like to see it done
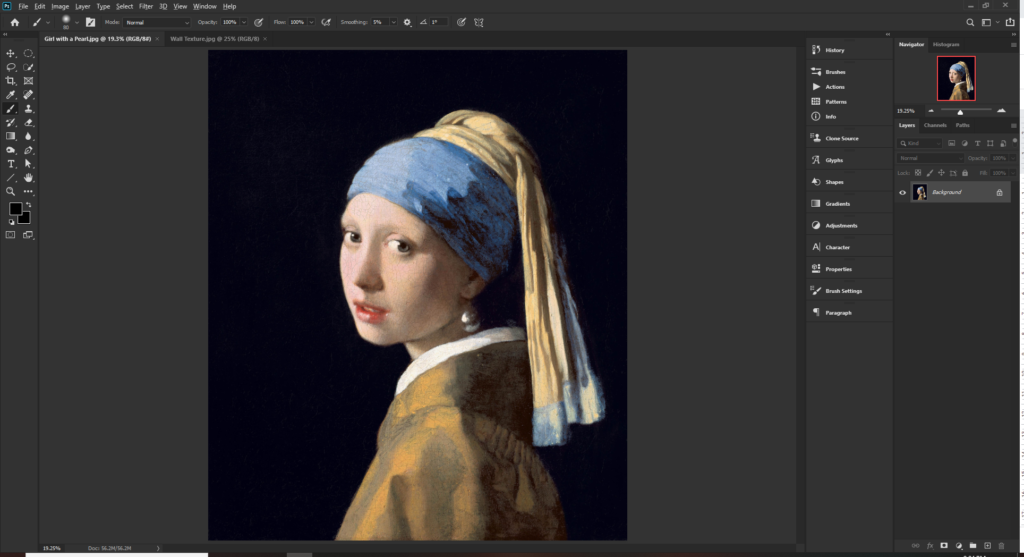
We can start out by opening the 2 images we will be working with. Girl with a pearl earring is one of my favorite portrait paintings and I was a big fan of the Banksy mural.
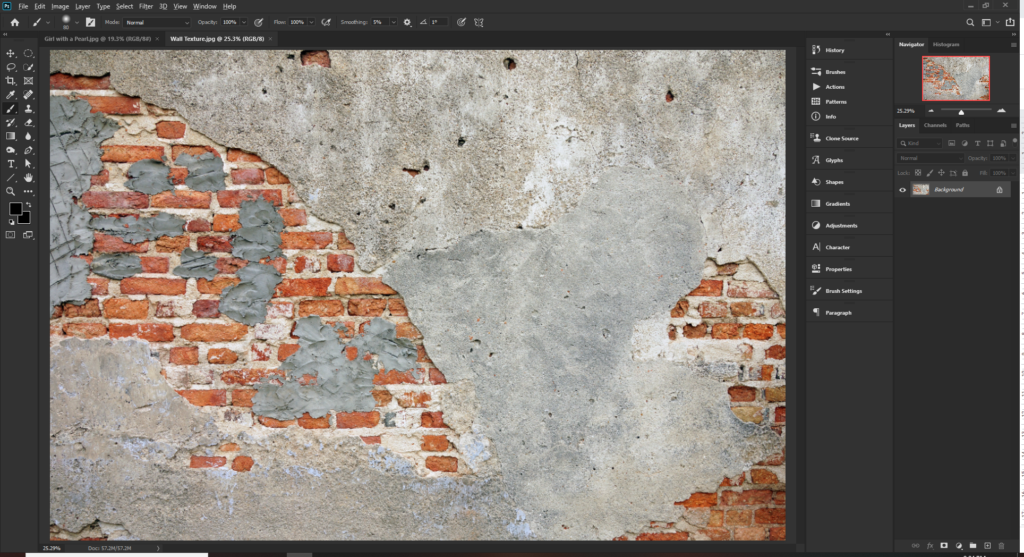
The wall image can be found on Unspalsh
The first thing we need to do is to make a selection of our girl with a pearl earring. There are a few ways to do this including the following:
- Select > Select Subject
- Pen Tool
Because the background is pretty much one color and has high contrast from the subject then I am going to use the select > color range tool.
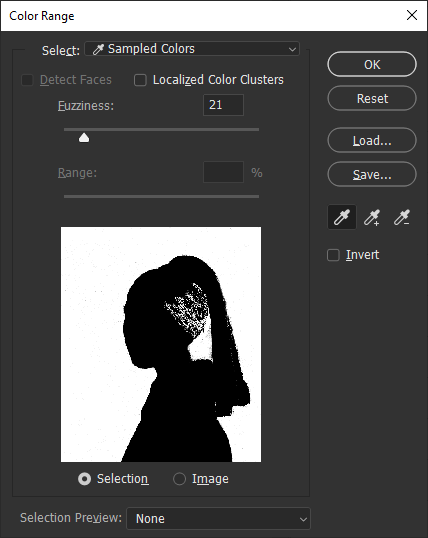
Sample the background color and you can see that it has done a pretty good job at making the selection. There is a dark area above her neck which I do not want in my selection so that is why I did not use the select subject tool. Press ok to make the selection
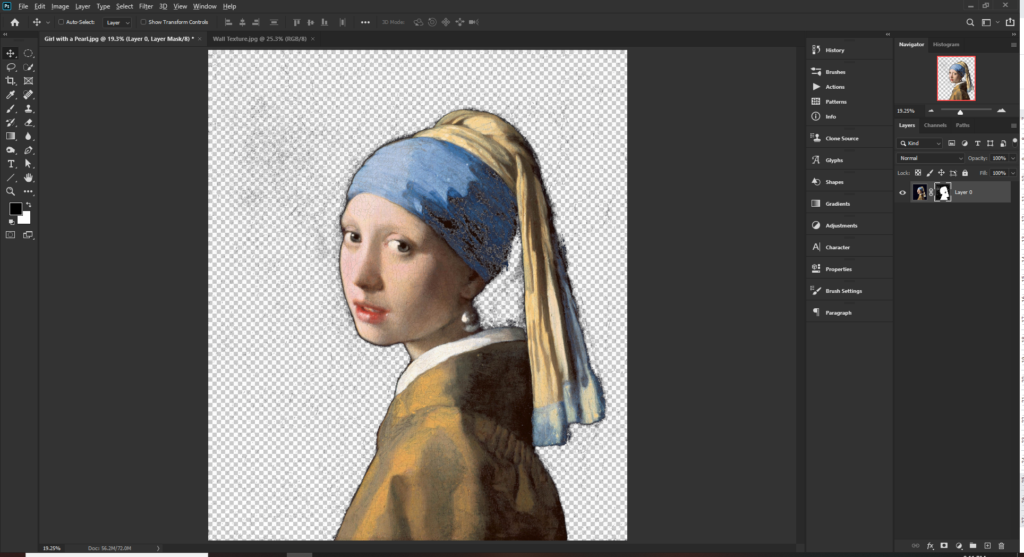
Now we want to use a layer mask. Hold Alt and Click the layer mask icon at the bottom of the layers menu. We are holding Alt to invert the layer mask so that only our subject is visible. We could have either inverted the selection or the color range but it’s good to learn multiple ways of doing things in Photoshop
This layer mask is far from perfect so hold Alt and click on the layer mask thumbnail to view the mask.
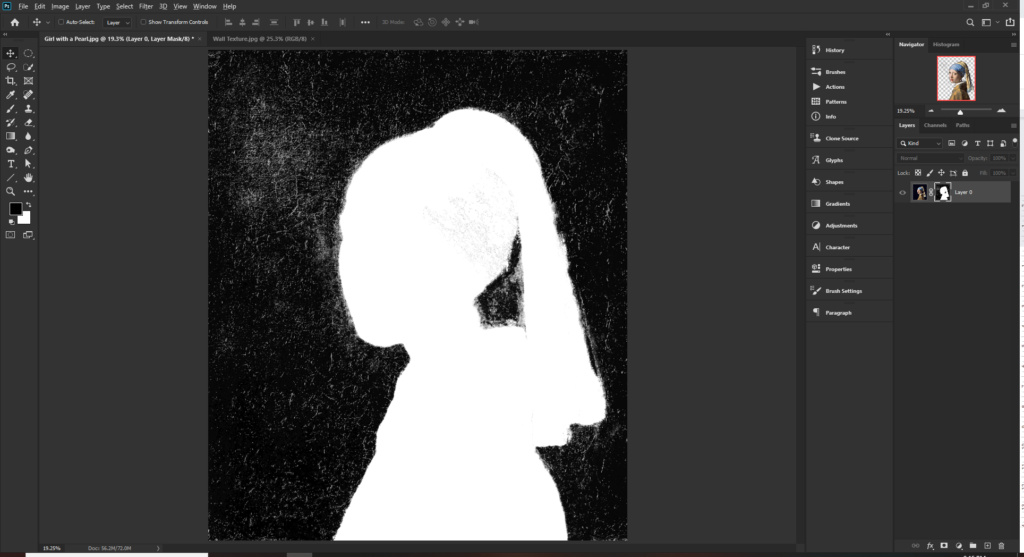
Using a soft brush paint white for the areas which should be white and black for the areas which should be black.
Tip…If you turn your brush mode to overlay, it will make this task very easy as it makes the white areas whiter and the black areas blacker. Super effective when editing layer masks. I used this technique when trying to cut hair out in Photoshop.
Click Alt + the layer mask thumbnail to exit the layer mask view.
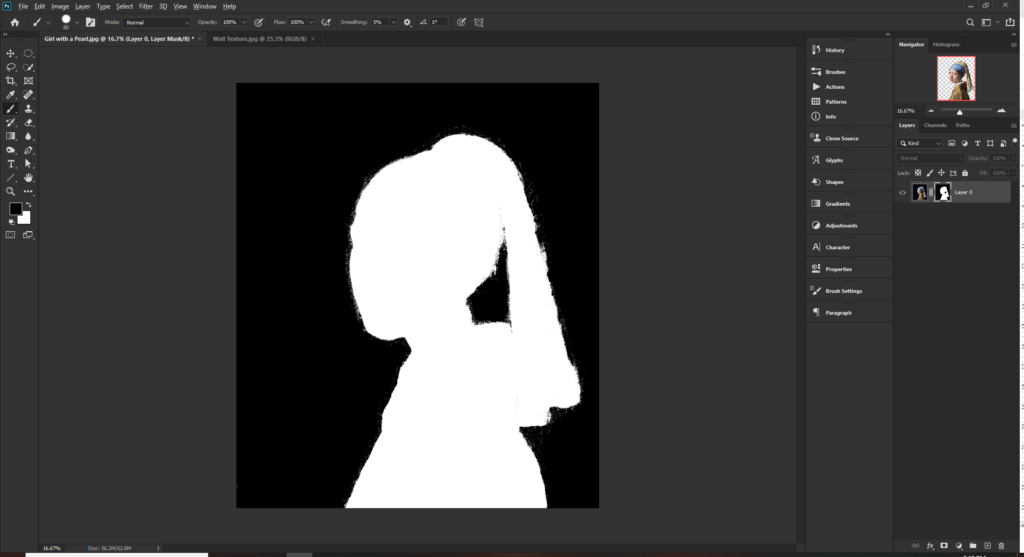
It looks a lot better now but there is still a fine edge around our subject which we can easily adjust. With The contents of the mask selected (Ctrl+ Mask thumbnail) Click Select > Modify > Contract and set it to about 10 pixels. You can then invert this selection and brush it out in the mask
Now our selection is looking good. Note that because we are going to blend it in to a wall, it does not need to be perfect. It is good practice in making selections though.
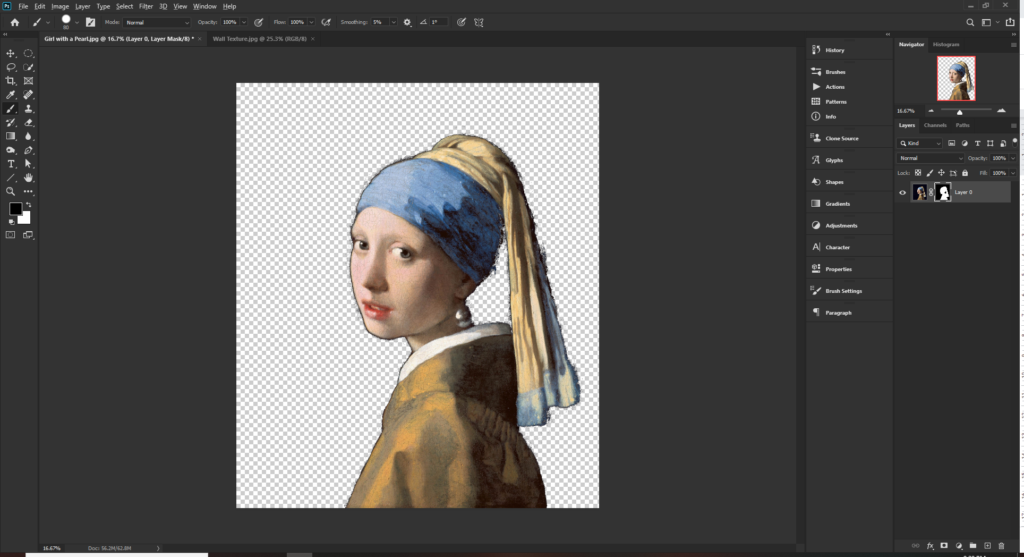
With the mask selection active, select the image layer and press Ctrl+C to copy the contents. We can now paste this in to our wall image.
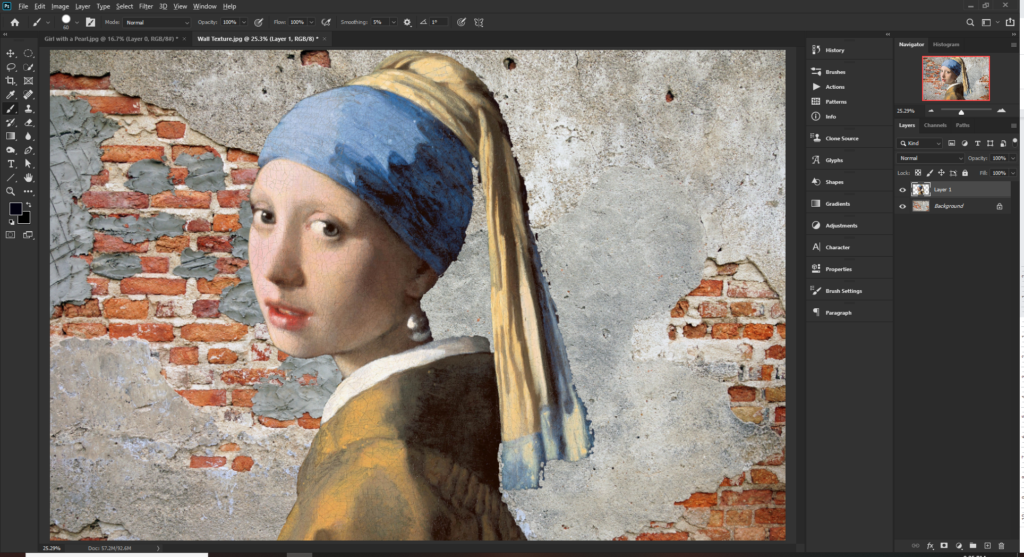
Press Ctrl+T to transform the image and scale it to size which you think works best
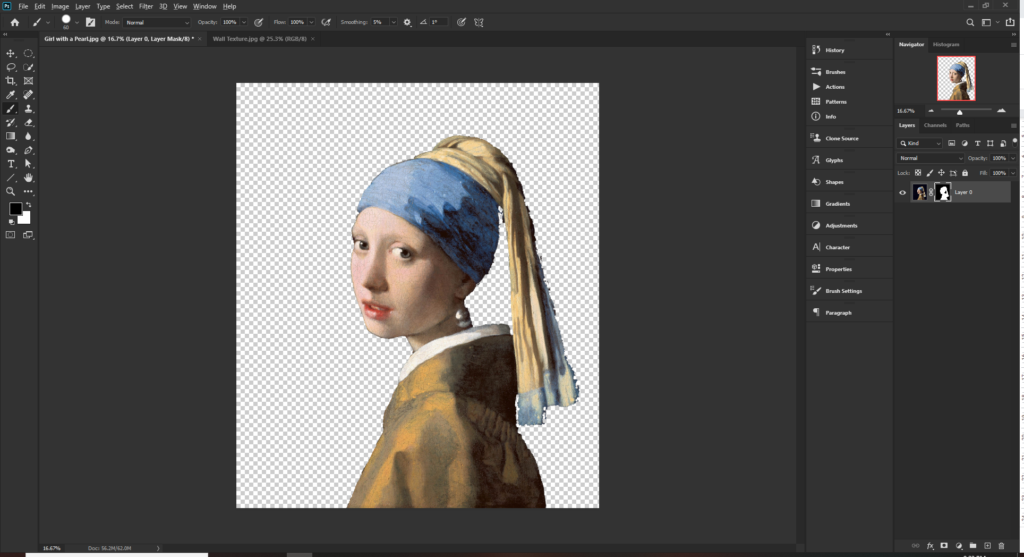
Right click the new layer and convert it to a smart object – This is just good practice and will preserve the quality of the image as we apply layer effects.
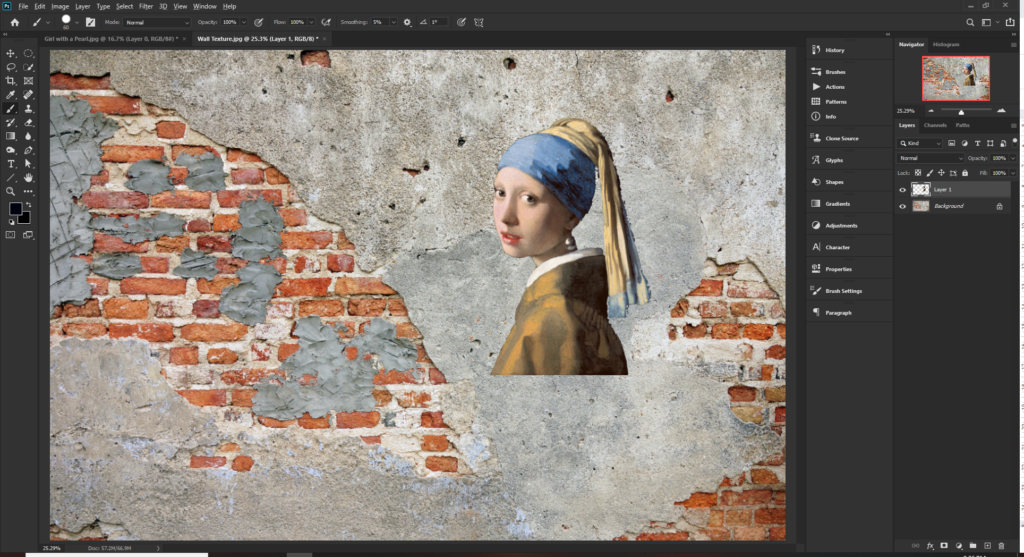
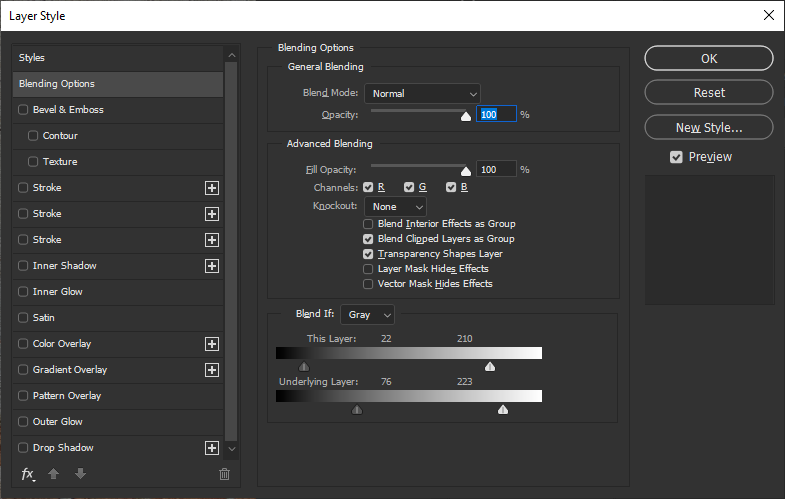
We are now going to use the Blend If function in Photoshop which is an extremely powerful tool. The Blend if tool allows you to use luminosity to blend layers based on certain color values. This means we can gradually make areas of the image transparent and see the areas underneath.
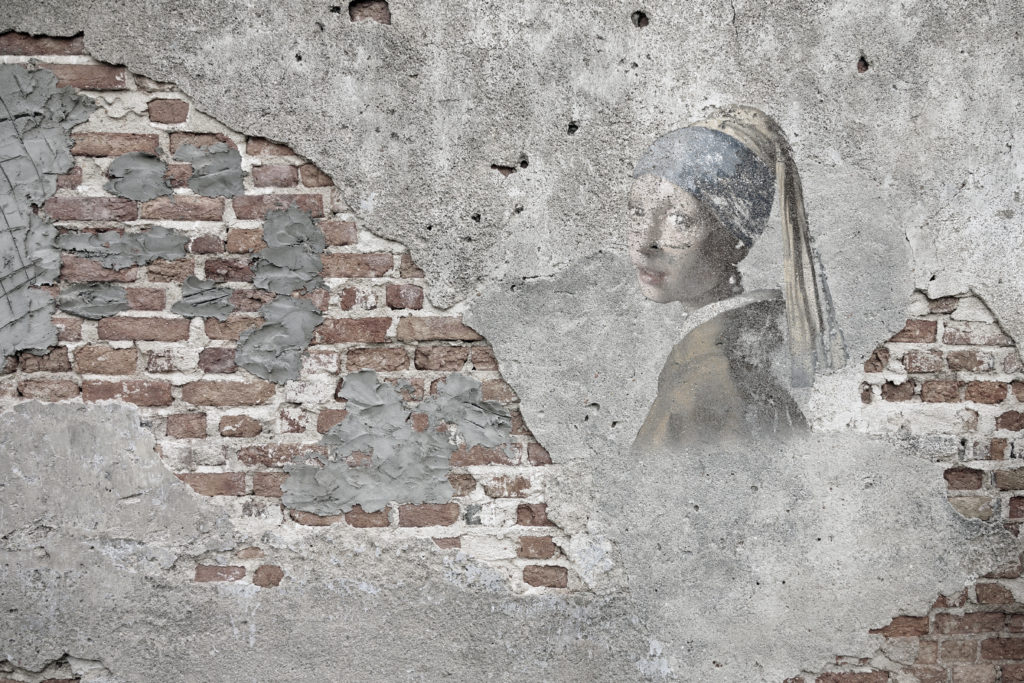
You can see that the image now has a very cool distressed look and is starting to look like it is part of the wall.
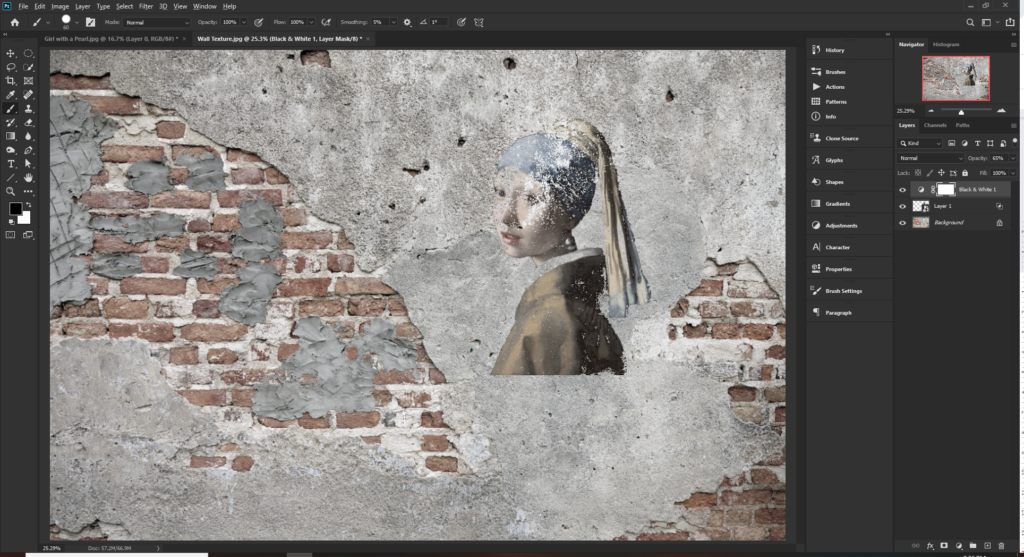
The color values are a little off so we can add a black and white adjustment layer at the top and adjust the opacity to about 65%.
The hard edge at the bottom looks a little too harsh so we can apply a layer mask to the girl layer and with a soft brush, remove the hard edge and adjust the blend if a little more if you feel necessary. The effect is pretty much complete now and is looking good. What will really make the image stand out is the adjustment of light if needed but in this case, I don’t think it is required.
I hope you found this useful and have learnt a few skills that can be used in other projects. The Blend if function especially.
Now Go Create Something